Buy lopressor paypal payment no prescription
https://medicineball-exercises.com/top/buy-generic-lisinopril-coupon-no-prescription/
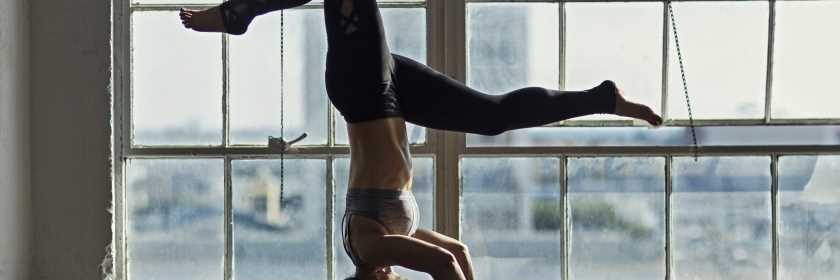
The headstand (or Salamba Shirshasana) looks easy when a yogi does it, but results in a wobbly mess that hurts our heads and leaves us in a pile on the floor when we attempt it. Here’s how to finally nail this pose.
The headstand is a pinnacle pose in yoga practice – it encapsulates calm and serenity, and is a true show of strength and balance. But long before we donned our Sweaty Betty tanks and Lululemon leggings, a headstand was common practice as a child (well, maybe not all children). So why has it become so difficult to find our courage and balance now that we’re all grown up? “I think trying to learn anything physical is much more challenging the older you get,” Fi Clark, head of yoga at FLY LDN explains. “In a physical sense, our centre of gravity is much lower as a child and as we grow taller, it becomes a lot more challenging to balance – whether that’s on our feet or upside down.”
We may be dealing with less mobility and primal body awareness given the differences in lifestyle and learned behaviour. Most of us go from being frequently and primally active as a child to a much more sedentary lifestyle as an adult. Some individuals may also have old injuries or weaknesses impacting what’s physically possible, especially around the shoulder area.” Not to mention a differing set of inhibitions. “As adults, our fears (both rational and irrational) are much more apparent as we’ve lived through the consequence of physical pain when doing something that didn’t work out too well. That fear can hold us back from even trying something in the first place if we have a deep-rooted belief that we just can’t manage something like a headstand. So we unnecessarily panic and give up quite easily.”
But give up we mustn’t, as mastering the move can deliver a whole host of physical and mental benefits. Not only does it build shoulder and core strength, but it demands a great deal of mental focus, Fi tells us. Although being upside is a foreign notion, it will increase blood flow to our digestive system which stimulates not only digestive function, but also the cultivation of serotonin – our happy hormone that flushes out the adrenal glands and aids lymphatic drainage (which is beneficial for our immune system).
You may also like
Running: this training plan will help you run a 5K in four weeks, even if you're new to running
It may not look like much of a workout from the outside, but headstands call on multiple muscles to keep your form in tact. “Predominantly, we use the shoulders and arms to hold our weight,” Fi says. “In particular the deltoids, rhomboids, trapezius and biceps.We also need to engage our glutes and adductors to remain stable, as well as our core muscles (transverse abdominals, obliques and rectus abdominals) to support the spine.”
Ready? Before you take to the mat, Fi has some parting tips to help you on your way to vertical victory. “Make sure you’re really pushing the forearms down into the floor to engage your shoulders and keep weight away from your neck. Keep the legs active and inner thighs adducted to maintain structure and avoid wobbling.
A key thing to remember is to keep breathing – it’s very easy to hold your breath when trying something like a headstand that requires a lot of concentration, but to keep calm and collected you need a relaxed flow of breath to steady your mind. And finally, keep your vision on something non-moving to avoid being put off from focussing. Be aware of where your body is, in the space that you’re controlling.”
HOW TO MASTER A HEADSTAND
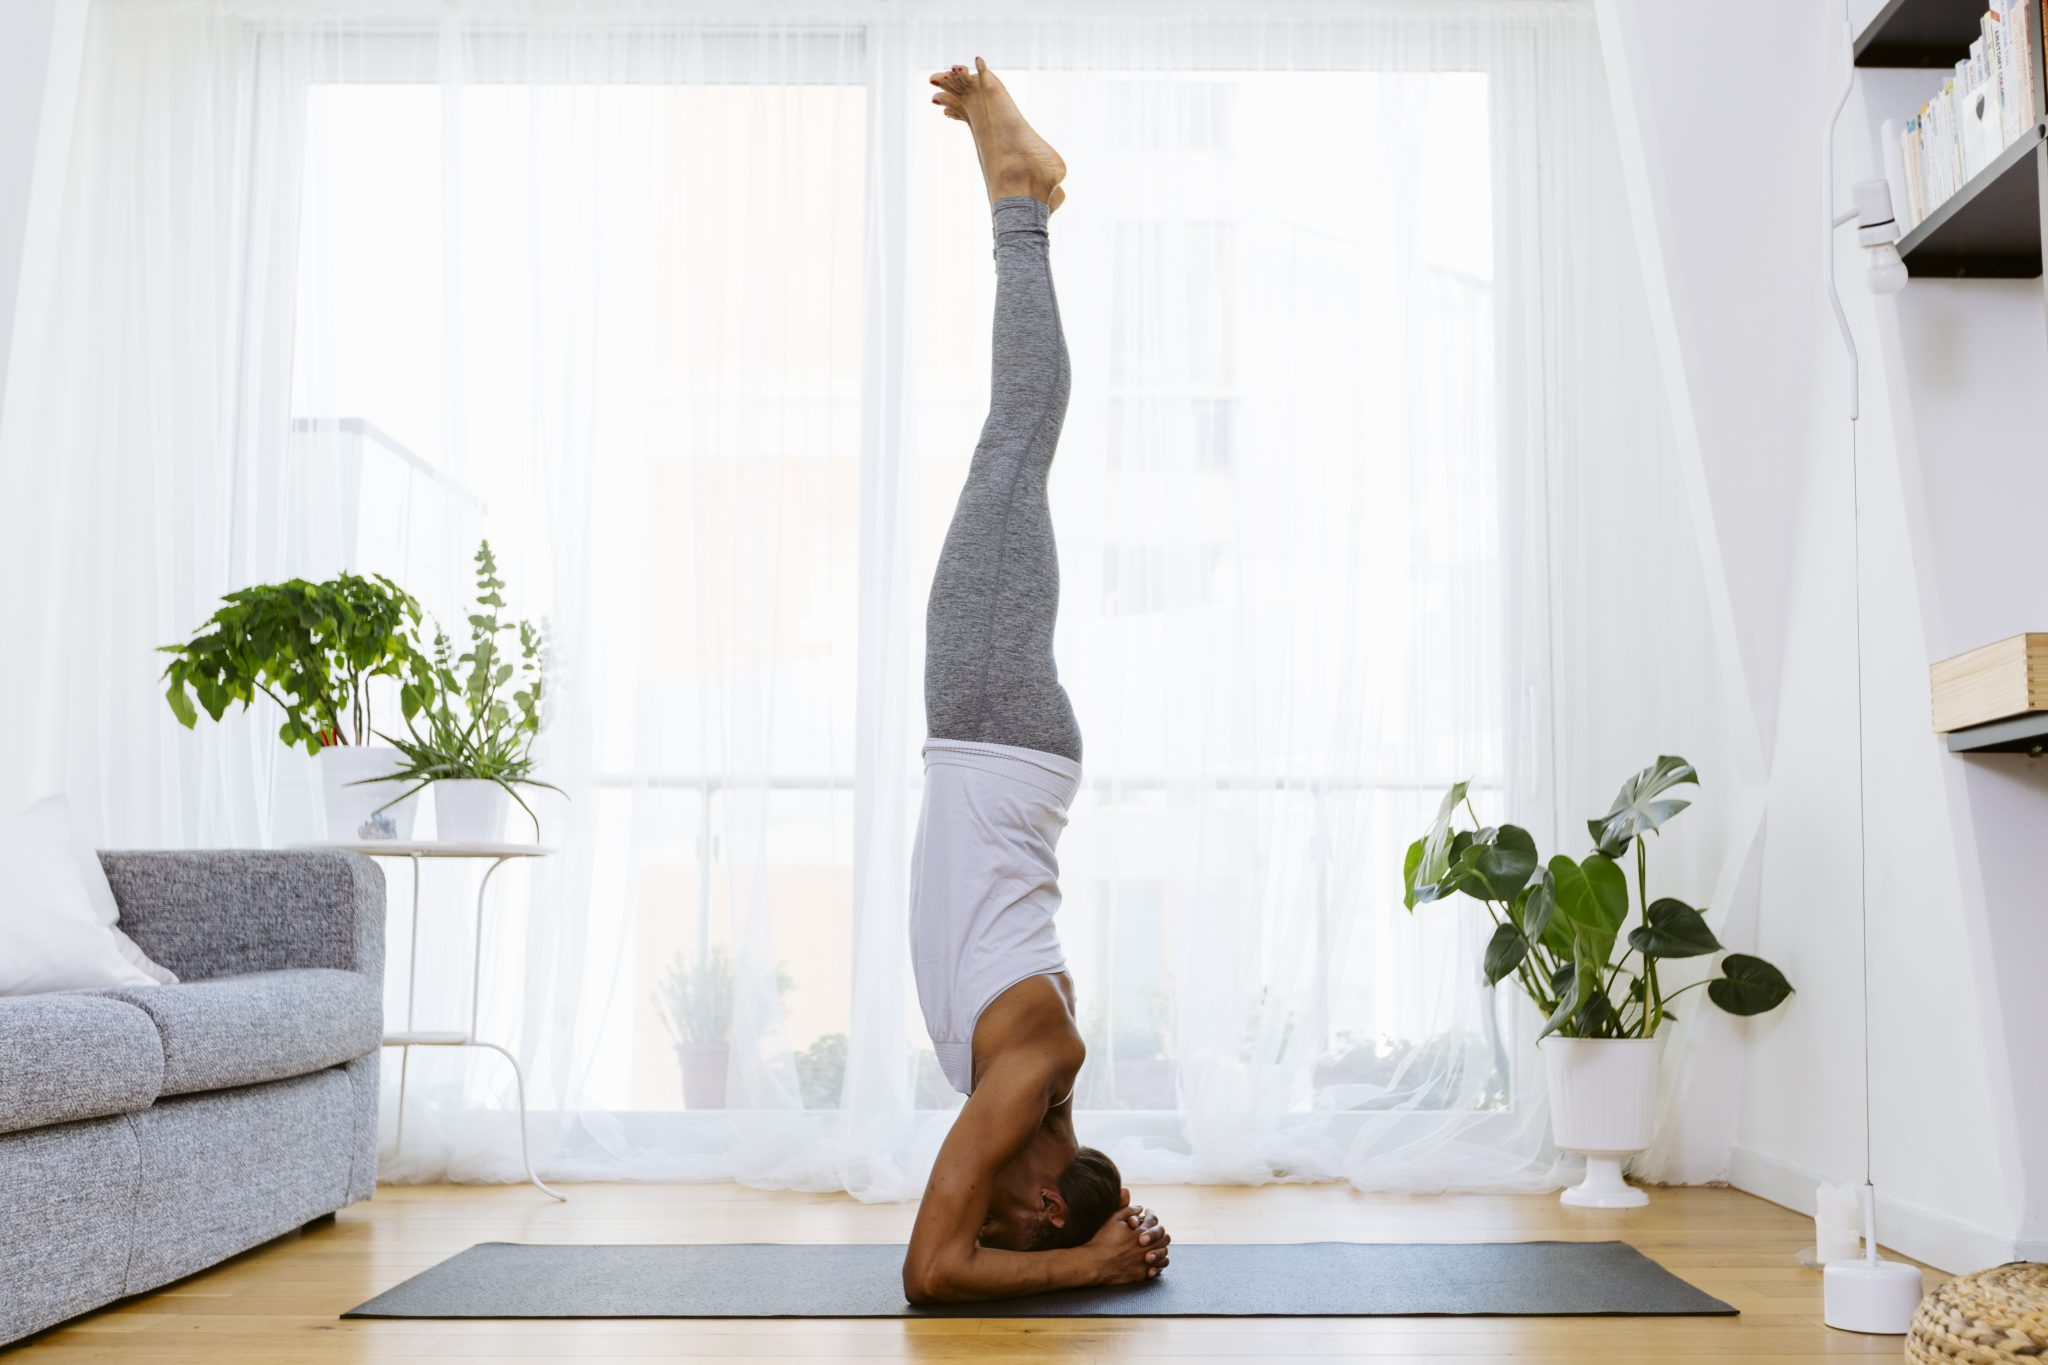
Read on for Fi’s step-by-step guide to a wobble-free Shirshasana.
- Start in table top position with your hands and knees on the floor. Then, place your forearms on the mat with one forearm crossed in front of the other.
- Interlace your hands – creating a bottomless triangle shape with your forearms (the point of the triangle being your interlaced hands).
- Ensure that your elbows are no wider than shoulder-width apart to avoid deactivating your shoulders and keeping your weight from sinking into your neck.
- Place the crown of your head to rest on the mat in between your palms, so that your hands act as a cradle for the back of your head.
- With your toes tucked under, lift your knees off the ground and straighten your legs. From here, check how it feels to push your forearms down and lift your head slightly before placing it back down.Never lose that activation of your shoulders throughout the entire move.
- Walk your feet in towards your torso until your spine goes from being flexed to straight. This is a vital part of coming into a headstand to avoid any need for kicking up or using momentum.
- Start by lifting one foot off the ground, bending the knee in towards the chest before bringing that same foot back down. Repeat on the other side.
- When you feel confident enough, lift both feet off the ground, but one at a time. Ensure that you keep your knees close to your chest. If you kick your legs up and back you will most likely topple over and potentially hurt yourself. So be mindful that you have a lot of weight bearing down on your neck which is a relatively small area of your body.
- Only when you can hold your knees into your chest for at least 5 breaths would I recommend trying to extend one leg upwards. By keeping one knee bent in towards the chest is the only way you’ll fall out the same way you came in, so this is a safe way to gain strength and confidence before eventually lifting up both legs so that your ankles, hips and shoulders stack on top of each other in a straight line.
- Ensure your inner thighs remain active as you zip up your legs, keep your core engaged for spinal.
Want effective at-home workouts? Follow @StrongWomenUK on Instagram for the latest workouts, delicious recipes and motivation from your favourite fitness experts.
Image credit: Getty
Source: Read Full Article